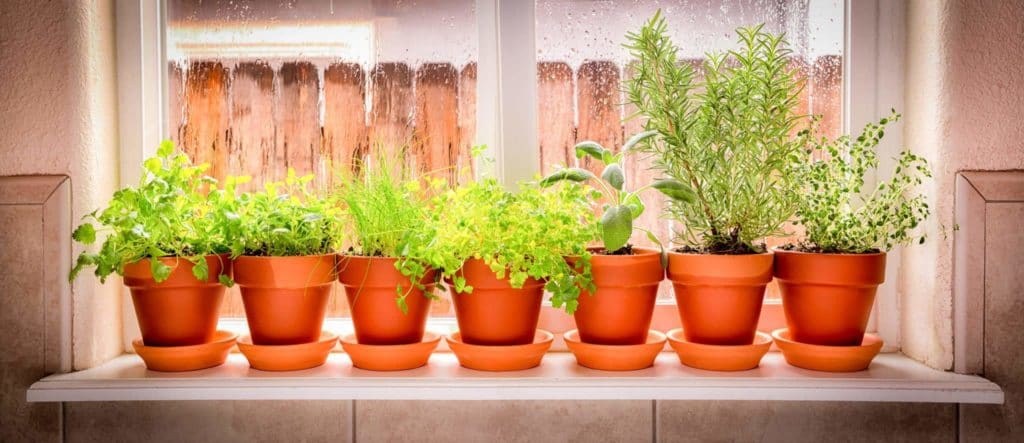
It’s that time of year – fresh plants are displayed outside nearly every home improvement and gardening store. You’re probably tempted to smell the aromas but maybe don’t have the time to commit to a full-blown garden. Gardening can be a chore. But what if it didn’t have to be? If you are interested in a low-maintenance way to enjoy the benefits of fresh herbs – a windowsill herb garden may be the way to go!
Whether you live in a tight studio apartment in the city or on an acreage, chances are you may have a spot for a plant or two with a little creativity. With a windowsill garden, you have the luxury of fresh-grown herbs at your fingertips. Not only is this convenient, but provides cost savings as well. Furthermore, you can control what your plants are exposed to so you know exactly what you are consuming.
Let’s take a closer look at windowsill herb gardening: what to grow, how to grow it, and how to harvest and enjoy your produce!
Popular windowsill garden herbs
Make sure to check out the links for health benefits and tasty recipes.
- Mint
- Cilantro
- Sweet Basil
- Thyme
- Oregano
- Tarragon
- Chives
- Rosemary
- Parsley
- Sage
- Dill
Step 1: Planting your garden
You can buy seed packets and sprout the plants yourself, or if you aren’t that patient you can purchase a small starter plant. In either case, plant each herb in an individual pot with at least four inches of soil to allow for root growth. The pot should have drainage holes and something to catch water drips. Place your herb garden in a south-facing window with a moderately warm temperature. Do not allow the plants to touch the windows as changes in outdoor temperatures may be detrimental.
Express yourself!
Who says you need to stick to a boring clay pot? Jazz up your planters to match your taste, whether that’s a vintage tin can, coffee mugs or even an aluminum bucket – have fun with your herb garden. At the end of the day, the herb garden is about you – what you want to eat, how you want to grow it, and how you want it to look.
Step 2: Nurture your plants
Now that your plant has taken root (haha), you need to continue to nurture it by maintaining moist soil. Over-watering can be just as dangerous as under-watering. In fact, err on the side of letting the top couple inches of your plant get dry before moistening.
Pinching is another component of nurturing some of the herbs in your garden such as basil. Pinching is done by using your thumb and forefinger to remove growth shoots This process encourages lateral growth resulting in a more compact and less leggy plant. If you do not pinch back herbs they will bloom. Blooming sends a signal to the plant to stop growing new leaves. Furthermore, once bloomed the flavor of the leaves may become more bitter.
Step 3: Harvest your garden
Aw, it’s finally time to reap the benefits of your herb garden! You may eat the pieces of the herb that are pinched from the plant and removed from new sprouts. If your garden produces more than you can consume, freezing and drying is a great way to preserve herbs.
Naturopathic doctors spend extensive time studying therapeutic nutrition along with the core curriculum in biomedical science. They educate patients to eat for optimal health. Click here to find an ND near you in the US and Canada.


